

Key Takeaways
Start here
Why Start Without a Telescope
Get ready
Setting Up for Your First Night Out
Learn the basics
Learning to Read the Sky
Navigate the sky
Finding Major Constellations and Landmarks
Go deeper
What to Look for Beyond the Stars
Keep going
Building the Habit: Your Next Steps
Why Start Without a Telescope
Most first-timers assume stargazing requires expensive equipment. In reality, the opposite is true: a telescope before you know the sky often creates frustration rather than wonder. The unaided eye gives you the widest possible field of view and lets you absorb the sky as a whole - learning which bright objects move night to night, how star patterns relate to each other, and where to look at different times of year.
Professional astronomers refer to this foundational skill as naked-eye astronomy, and it underpins everything that comes after. Before consulting our guide to amateur astronomy equipment, spend at least a few sessions simply looking up. The patterns you recognize will make every tool you later pick up far more intuitive.
Dark adaptation
The process by which your eyes become more sensitive to low light after spending time in darkness, driven by the activation of rod cells in the retina. It takes roughly 20-30 minutes to complete.
Light pollution
Artificial light that scatters through the atmosphere and brightens the night sky, reducing the number of stars visible from populated areas.
Magnitude
A numerical scale used to measure the brightness of celestial objects. Lower numbers mean brighter objects; the naked eye can typically see stars down to about magnitude 6 under dark skies.
Constellation
One of 88 officially recognized patterns of stars in the sky, defined by the International Astronomical Union. They serve as landmarks for navigating the night sky.
Bortle scale
A nine-level numerical scale that measures the darkness of the night sky at a given location, from Class 1 (pristine dark) to Class 9 (inner-city sky).
Asterism
A recognizable grouping of stars that is not one of the 88 official constellations - for example, the Big Dipper, which is part of the larger constellation Ursa Major.
Setting Up for Your First Night Out
Success hinges on three practical factors: darkness, comfort, and patience.
- Find your darkest local spot. A backyard shielded from streetlights is a reasonable start. Check a light-pollution map to see whether a nearby park or rural road offers a meaningfully darker sky - even a short drive can raise the number of visible stars dramatically.
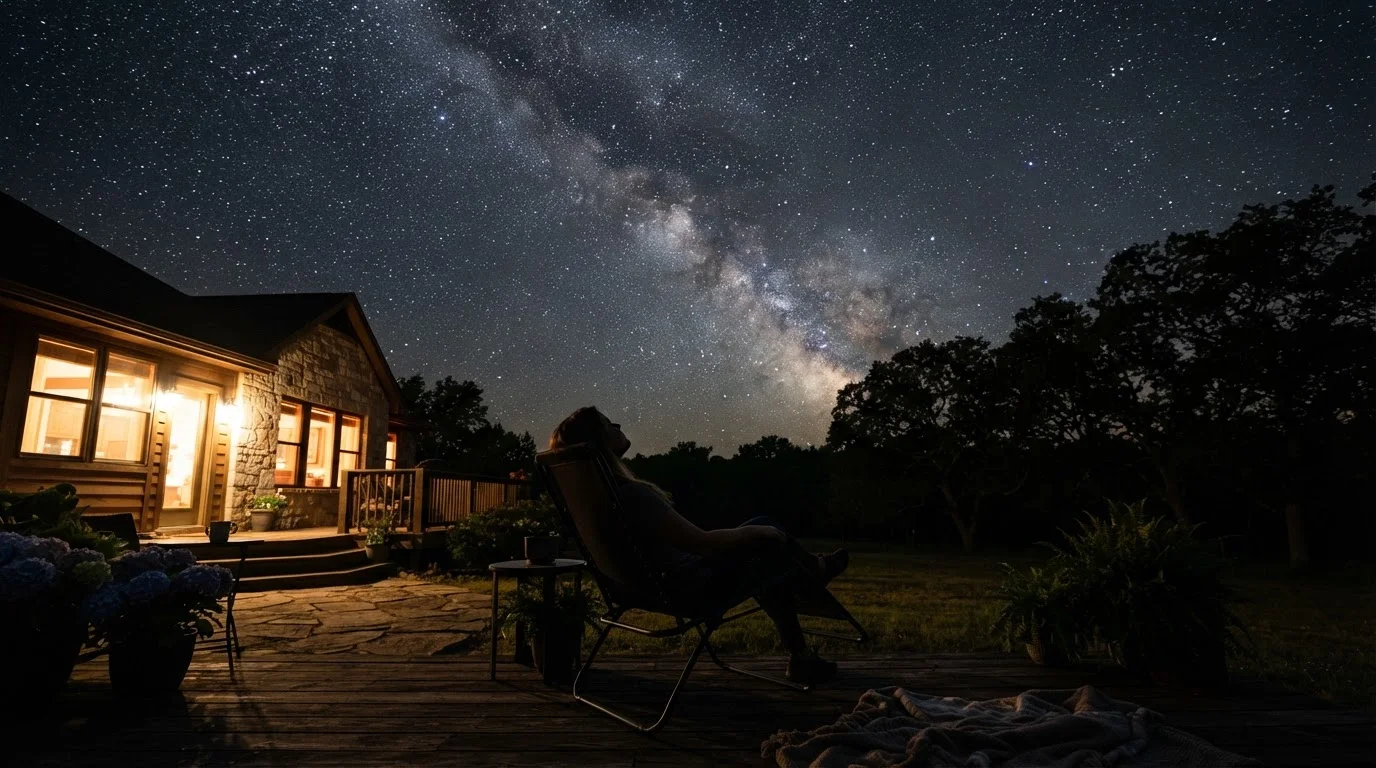
- Give your eyes time. Dark adaptation takes 20-30 minutes. Arrive, recline, and resist checking your phone. Once adapted, your eyes become far more sensitive to faint light.
- Stay comfortable. Cold nights drain motivation quickly. Bring a reclining chair or a blanket to lie on - craning your neck upright for an hour is uncomfortable. Dress warmer than you think you need to.
For a more detailed pre-session checklist covering moon phase, weather, and gear, see our stargazing preparation checklist.
Protect Your Night Vision
Use a red flashlight or cover a white flashlight with red cellophane when you need to read a star map or check notes. Red light preserves dark adaptation far better than white light. Many free stargazing apps also include a night-mode that shifts the display to red tones.
Learning to Read the Sky
The night sky has an underlying structure that becomes readable once you know a few rules. Stars rise in the east and set in the west - just like the Sun - because Earth rotates. The point directly overhead is called the zenith, and it offers your clearest view since you're looking through the least atmosphere.
Star brightness is measured on a magnitude scale: the lower the number, the brighter the object. Sirius, the brightest star in the night sky, sits at magnitude −1.46. The faintest stars your naked eye can detect under dark skies reach about magnitude 6. Planets, which don't twinkle like stars due to their larger apparent disc, are usually among the brightest objects visible.
Star maps - also called sky charts - show this sphere projected flat. Learning to match a chart to the overhead view takes a little practice. Our companion piece on reading a star map walks through orientation and scaling in detail. For a plain-language glossary of terms you'll encounter, visit key astronomy terms explained.
Finding Major Constellations and Landmarks
Rather than memorizing all 88 constellations at once, start with a handful of asterisms - easy-to-spot star groupings - that serve as anchors for everything else.
- The Big Dipper
- Visible year-round from most of the continental U.S., this seven-star asterism is part of Ursa Major. The two stars forming its outer edge point directly to Polaris, the North Star.
- Polaris (the North Star)
- Sitting nearly directly above Earth's north pole, Polaris barely moves while other stars wheel around it. Once found, it gives you true north - a reliable compass bearing.
- Orion
- A winter evening showpiece featuring three bright belt stars in a near-perfect line. Orion's belt points toward Sirius to the southeast and Aldebaran to the northwest, connecting you to neighboring constellations.
- The Summer Triangle
- In warmer months, three bright stars - Vega, Deneb, and Altair - form a prominent triangle high in the sky, each from a different constellation.
Learning these four landmarks gives you a navigational scaffold for exploring the rest of the sky systematically.
Seasonal Skies Change What You Can See
The constellations visible from your backyard shift throughout the year as Earth orbits the Sun, bringing different parts of the sky into view each season. Orion dominates northern winter evenings, while Scorpius rises in summer. Checking a current sky map for your date and location will show exactly what's up tonight.
What to Look for Beyond the Stars
Once you're comfortable with the star field, several other phenomena are accessible to the naked eye:
- Planets: Venus, Mars, Jupiter, and Saturn are bright enough to stand out clearly. Unlike stars, they move measurably against the background from night to night.
- The Milky Way: Under a Bortle Class 4 or darker sky - typically 30 or more miles from a major city - the galactic band becomes a distinct river of light crossing the sky. What you're seeing is the combined glow of hundreds of billions of stars in our galaxy's disk.
- Meteor showers: Several reliable annual showers, including the Perseids in August and the Geminids in December, produce dozens of meteors per hour at peak. No equipment needed - just lie back and watch.
- Satellites: Low-Earth orbit satellites appear as steady points of light gliding smoothly across the sky over two to five minutes, with no blinking.
As your curiosity grows, the science behind stellar systems and distant worlds opens up further. Our article on how astronomers find exoplanets is a natural next read.
Building the Habit: Your Next Steps
The most effective way to learn the night sky is simply to go out regularly. Even fifteen minutes on a clear night reinforces pattern recognition faster than any app tutorial. Keep a simple notebook - date, time, what you noticed - and your progress will become visible within weeks.
As you outgrow the naked eye, binoculars are the recommended next step before a telescope. They reveal lunar craters, Jupiter's four Galilean moons, star clusters, and nebulae with minimal learning curve. When you're ready to explore that path, our equipment overview lays out the options clearly and without sales pressure.
Astronomy is one of the few sciences where an amateur observer with patience and a clear sky can contribute genuine value - reporting variable star brightness, timing meteor arrivals, and hunting comets are all within reach. The sky above your backyard is the same one astronomers have studied for millennia. You're already standing in the right place.