

Key Takeaways
What a Star Map Actually Shows
A star map - also called a sky chart - is a two-dimensional projection of the celestial sphere, the imaginary globe of stars surrounding Earth. Because wrapping a sphere onto a flat page distorts distances near the edges, charts use specific projection methods (most commonly gnomonic or stereographic) to keep constellation shapes recognizable. The result is an accurate snapshot of which stars are visible at a given latitude, date, and time.
Star maps use dot size to encode stellar magnitude - an astronomer's measure of apparent brightness. Counterintuitively, lower magnitude numbers mean brighter stars: Sirius shines at about −1.46, while stars near the limit of naked-eye visibility sit around magnitude 6. Understanding this scale is foundational; our astronomy glossary unpacks it and other essential terms in plain language.
Constellation lines connecting stars are artistic conventions, not physical groupings - the stars in a constellation are usually at wildly different distances from Earth. The lines simply help you recognize patterns that cultures have named for millennia.
Choosing the Right Map for Tonight
Two main formats suit beginners. A planisphere is a rotating disk that aligns a date wheel with a time window, revealing only the stars above your horizon at that moment. A monthly sky chart (printed or from a reputable astronomy publication) shows the sky for a specific month and is valid for roughly an hour on either side of its stated time. Both are keyed to a geographic latitude, so confirm the chart matches your approximate location - a map calibrated for 30°N will differ noticeably from one built for 45°N.
Before heading out, pair your map with some preparation groundwork. The stargazing preparation checklist covers moon phase, weather, and light-pollution checks that determine how many stars your map will actually match.
Printed vs. Digital Sky Charts
Dedicated planisphere disks are inexpensive, require no batteries, and work offline - advantages in a dark field. Digital sky apps can auto-orient using your phone's GPS and compass, which is convenient, but bright screens hurt night vision. If you use an app, enable its red-night mode and reduce brightness to a minimum before observing.
How to Use a Star Map Step by Step
Set your map to the correct date and time
On a planisphere, rotate the disk until the current date aligns with the current time on the outer ring. On a printed monthly chart, confirm it matches the current month and note the stated observation time (typically 10 p.m. local standard time). Using the wrong setting shifts all constellations by a measurable angle and will cause mismatches when you look up.
Let your eyes dark-adapt before going out
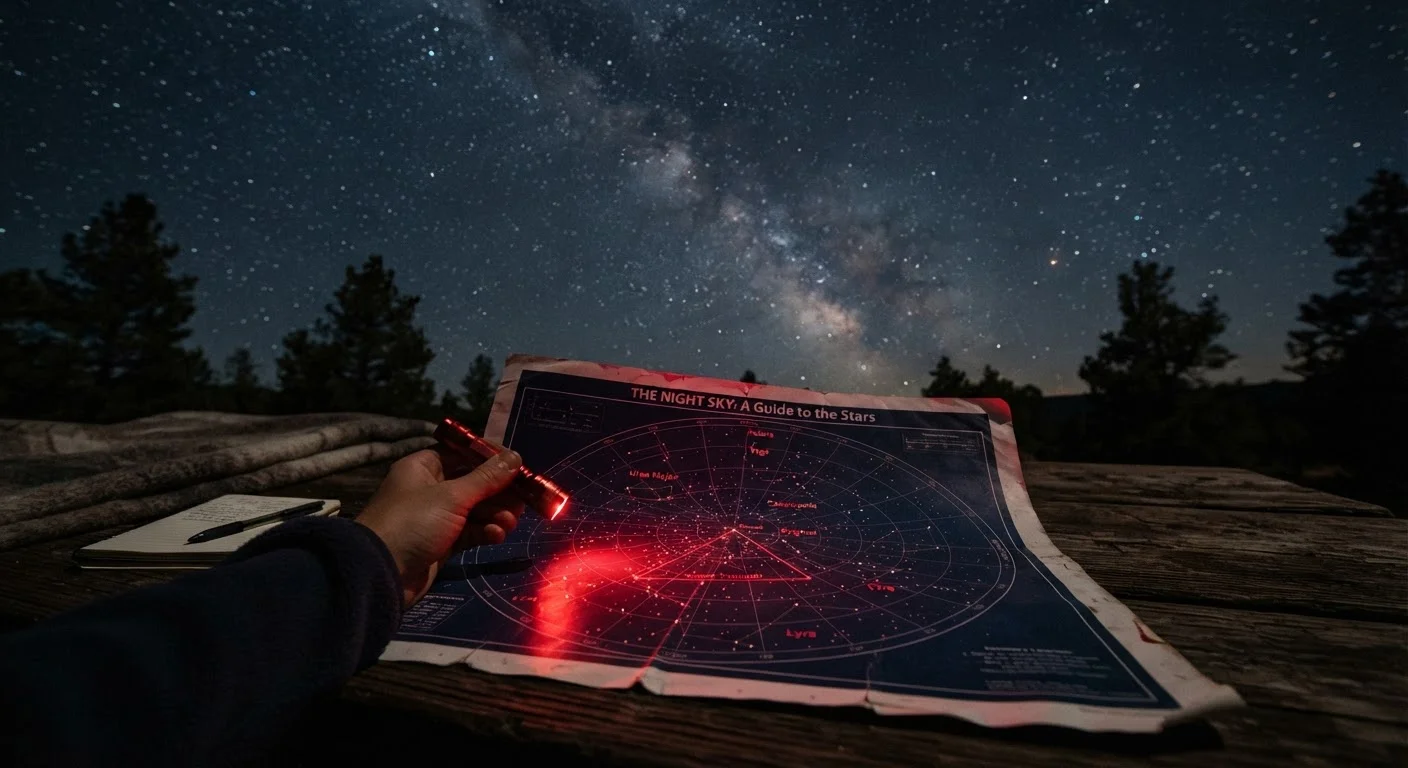
Full dark adaptation takes roughly 20-30 minutes away from white light. Avoid looking at phone screens or indoor lighting during this period. Bring a red-LED flashlight - red wavelengths have minimal effect on the rod cells responsible for low-light vision, so you can read the chart without resetting your adaptation.
Face a cardinal direction and orient the map
Decide which part of the sky to explore first - say, the southern sky. Rotate the star map so the label reading South is at the bottom edge closest to you. Hold the map overhead or tilt it to match the dome of the sky rather than reading it flat like a table map. The stars on the chart's southern edge correspond to stars low on your southern horizon; stars near the map's center are near your zenith (directly overhead).
Identify one bright anchor star or constellation
Scan for the two or three largest dots on the relevant section of your chart - these are the brightest stars and will be obvious in the real sky. Common anchors include Orion's belt (three equally spaced stars in a line), the Big Dipper's distinctive ladle shape, or the Southern Cross if you're at a low latitude. Locate that pattern overhead before attempting anything else.
Hop outward from your anchor to neighboring stars
With your anchor confirmed, use the chart to trace lines to adjacent stars and constellations. Many navigational relationships are classic: Orion's belt points northwest toward Aldebaran and the Pleiades cluster, and southeast toward Sirius. The two pointer stars at the end of the Big Dipper's bowl aim directly toward Polaris, the North Star. Each confirmed identification builds your mental map of the sky.
Note objects labeled with symbols other than dots
Most charts use small circles, ovals, or hatch marks to indicate nebulae, star clusters, or galaxies. These objects are real but often too faint to see without binoculars or a telescope. Mark them mentally for future sessions when you have optical aid. For now, confirming their labeled position relative to nearby stars is valuable practice in precise sky reading.
With practice, the process from chart to sky takes only a few minutes. If you want to go further with optical aids, our guide to amateur astronomy equipment explains how binoculars and telescopes open up fainter objects your map labels but your naked eye can't quite reach.
Common Mistakes and How to Avoid Them
The most frequent error beginners make is holding the map oriented North-up while facing South - this flips East and West relative to the actual sky. Always rotate the chart so the labeled horizon edge matches the direction you're facing.
Another pitfall is expecting perfect matches in light-polluted areas. Urban skies may show only magnitude 3 or brighter stars, hiding many dots your chart displays. If the sky looks sparser than the map, that's normal; focus on the brightest anchors. For a broader introduction to reading the night sky without equipment, stargazing from your backyard offers helpful context for first-timers.